donderdag 27 januari 2011

40K: Ork Trukk building part 3, the Engine

I personally think that the engine is quite nice. With a little effort you can change it and/or dress it up with some wiring.


Posts on this subject:

Related posts:


Exhaust piping.
First thing I wanted to do was to make one engine with the short exhaust pipes (like a racing engine) and one with the longer exhaust pipes, which end behind the cabin. I started with the short exhaust pipes so the engine would look like the photo below.
The engine with the short exhaust pipes on both sides.

To do this was fairly easy. Just cut the both outer ends, which are to be connected to the engine, exchange them and glue the parts together. I advise you to pin them together with some kind of rod. You don't have to be that accurate (otherwise you wouldn't build the Ork-way). In my case I drilled the hole of one pin-connection wrong, so the join wasn't perfectly aligned. As you can see on the photo I eliminated the problem the Orky-way by wrapping a wood-glue soaked piece of paper around it. (Later I think I'll paint it a leather colour or so). For the engine, I just drilled two holes in the side for the pins of the exhaust.
Making a pair of exhausts the easy way.
For the long piping I still haven't got a clue. But I will when I'll be able to properly test-fit the piping with the cabin in place.


The wiring.
Another easy job. I examined the engine and made the decision that it's a 6 cylinder multi-million Hp engine (I'll take the red paintjob). As the spark plugs on such an engine need some serious electrical current, the wiring should be thicker than the rest of the wiring. In elderly cars the spark-plug wiring came from a coil....there are two things that can resemble a coil, but they are on the wrong place for some proper wiring. So I took some plastic sprue, drilled some holes in it and glued it on the end of the engine and named it "coil". Now I could properly contruct the spark-plug wiring.

As I feel the spark-plug wiring makes the engine better-looking, I wanted to really connect the engine to its other parts and to the cabin. So I drilled some holes where I thought it would be appropriate and wired it together.
One important thing was the booster pressure cylinder. It needed to be electrical connected to open the valves (otherwise I would need to model a Grot mechanic to open the valves when needed).
The other important thing was to connect the engine to the cabin. I kept two wires disconnected and bend them to fit between the cabin wall and the cockpit.

Below some photos of the result of the wiring.

Note: The thick wiring on the photo's I purchased in a Model Train shop, for the thin wiring I scavenged the broken down electrical toys at my loft.


The engine is connected to the cabin.


Until next post :)

zondag 23 januari 2011

Tv Camera on modeltrain

(october 2010)

My son has a Marklin railroad for his (and my :) ) hobby. He was frequently lying with his face down the track to watch the trains from ground level. As I was searching for trains with camera's, I found one. Problem was only that the thing had a price of over 1.000 euro's. Well, that wasn't worth it. So, I went to my 'usable stuff repository' (the loft) and found a small 2.4 Ghz security Camera with receiver which my father gave to me for my RC models.

I took an old broken wagon and taped the camera on. After a few rounds I found it satisfying and screwed the Camera on the wagon (together with a taped-on battery).

It works nicely and the children have lot's of fun with it, altough my son tends to play a 'chase' game, where he sets one train at a fixed speed, and tries with the other to get as close as he can only on camera sight. Sometimes that results in a crash. Because the trains are quite expensive toys I regrettably had to forbid that game.

Below some photo's of the carriage and the sight on tv. I still have to connect the camera to my Handycam, so I can make movies of my son's exploits.


What kind of train is that !
All on one carriage.
A bit distorted picture of the tv. (in reality the image  is better.)
A bit colourless picture with artificial light.

Till next post.

Painted my son's gaming board

(September 2010)

My son has chosen a Battleboard for his Bakugan game as an achievement present, because he did succesfully finished a test for his coming swimming diploma.
I found the colouring of the board a little dissapointing, certainly when regarding the price of the thing.
So I suggested to my son to paint some colours in it as seen on the box, he agreed to it.
I also added some rubber bands, because those Bakugan balls were flying and rolling all around the house...
However...I didn't realise at the time that it would be quite some work.

The board and box-art.
The colourless original.
After the paint job.

Till next post.

vrijdag 21 januari 2011

Futuristic 28mm scenery with recycled material

(October 2010)

As I had to come up with a game plan for the Ronfest, I quickly had an idea for the game. I planned a futuristic treasure-hunting (a relic actually) game with GW 40K miniatures. In the game I planned, I wanted to use the Space Hulk board game for the treasure-dungeons. I was only lacking an entrance on the surface.

As I am notoriously weak-hearted at throwing away things, I took a time out at the loft (my personal miniature, scenery and 'usable stuff' repository), and found a nice looking obsolete infrared remote control (RC is another hobby).
Using some XPS foam board, a knife, screwdriver, glue and some paint and flock, I did manage to produce 2 very accebtable pieces of terrain in a short time.


Doom lies beyond the entrance !
The top of the RC transmitter with two 40K bases. 
The battery lid (top) and the PCB (front).
Again, the PCB was a 'Scotty, beam me down !"-device.
Before disassembly.
After disassembly.
Till next post !

maandag 17 januari 2011

FOW: Pz Lehr Panzergrenadiere, started painting.

As I have my army as complete as I want it, I have started painting my Panzer Lehr infantry. The goal is to finish the army in one year. I don't know whether the plan is realistic. The 14000 pts took me 2 years to collect (a year longer than planned).

I have painted for about 4 weeks now and I am almost finished with the first batch. They are not finished yet, but good enough to show.

Below som pictures of the WIP's.

Almost finished, some flesh touch-ups needed
Zum Angiff !!!
On the photo I noticed somebody forgot to give the NCO a camouflaged Zeltbahn
Three of a kind
The current batch

I am quite happy how they turn out. I had some difficulties getting the colours right. Especially the epaulettes are a pain in the ...

Well I hope you like them.

dinsdag 11 januari 2011

Tools: Static grass applicator (home made)

Last weekend I decided to assemble my static grass applicator, because I want to use it for the basig of my Flames of War mini's.
I had seen an easy to build applicator for about 5 euros in material cost.

Here's the link (in Dutch, but the images are good enough to build one yourself):
http://www.nproject.org/nl/modelspoor-scenery/statisch-gras-leggen-op-de-modelbaan.html

My applicator looks like this:


I can't wait to try it out.

maandag 10 januari 2011

Note: Back again with a big backlog

Maybe you have noticed that I haven't updated the blog for a while.

I did run into some problems with my computer and had a busy time at work.
The computer problems are solved and did have a few weeks of relief at work...until now.

Oh, and my girlfriend totally wrecked my car.....

Side view
front view
The airbags did their work

In november she (tried) to drive her sister to her brother. The road was iced, she drove about 90 km/h, the car slipped and eventually hit the guardrail head-on. They got out of the car without a scratch. The paramedics couldn't believe that they were unharmed and they had to remain in the hospital for four hours.
The car....is unfortunatly a total loss....
In the past she nagged me for months to get a station car instead of the Mini. I was very reluctant to get rid of the Mini, because it's a very loyal driver's car.
My Miniii......(sigh...cry....)

Maybe I'll eventually get the better deal.........a Mini Countryman...........(gnagnagna).....


Back on topic.
I'll post the backlog of events and progress in building and painting in the weeks to come.
So...stay tuned.

woensdag 18 augustus 2010

Event: Happy day out, WWI Ypres/Ieper Part 2

This is the sequel, and last part, of the Happy day out to Ypres.


Posts on this subject:


We got on our way to Passchendaele, the place where the battle with the most casualties around Ypres took place. On route, we wanted to make a stop at the s'Graventafel bunker and the New Zealand Memorial, but they were closed for maintenance. So we drived on to Passchendaele.


From Ypres to Passchendaele


Arrived around 16:00 at the Memorial museum Passchendaele 1917 in Passchendaele (of course).

The new and the classic Mini in Passchendaele


Around Passchendaele were the biggest battles of Ypres, at least there were the most casualties. The scale of the destruction in and around Passchendaele is best to be seen with the aerial photographs shown below.

Passchendaele before and after the battle (photo from wikipedia)


The entrance to the museum is through a small gate. If you don't know it's there you could easily miss it. Look's nice though.

the entrance to the museum


Not there yet, it's a 5-10 minute walk through a park to the museum .

a walk through the park


The museum is a relatively small timber and stone building, but it has quite some room in it (including a cellar). Below is the only photo I made....

The museum


The museum has some interesting equipment and uniforms, quite an interesting collection actually. I won't post them all, because that could ruin your future visit.

Uniforms


What I liked in this museum was the clarity and accessibility of the information. This museum is one of the better museums in that regard. Below an example, on different locations on progress in the museum there are a total of 7 very clear maps reporting about the progress of the battle.

Battlemap


And ofcourse enough examples of life at the front.

German dugout

Machine gun


There are also two big overviews of the complete battlefornt in the area.

The battlefront in the area


The pathway leads you along a machine gun position into the dugout (in the cellar of the museum) where you can get a tiny part of the experience of life in a dugout (except for the flies, the scent of blood, mud and cordite and the noise). There is of course more to see than the photo's show, but then you would have to go there yourself.

The machine gun that marks the entrance to the dugout

Going down.....

The office

Bunks

Field hospital (with badly wounded casualty)


I can say it was an impressive tour, to be honest, I wouldn't like to be in the shoes of the men that actually have been in that area in the war.
After a while (30-60 minutes) we found the way up, once above the guys had to get rid of the impressions and tension build up during the experience below..... and quite strange things started to happen...

When this guy got out of the dugout, he wanted to shake hands with some plumbing......
Lobotomized in the field hospital below I guess....


And I still wonder what these guys were doing down below....or maybe it is better not to know.
"I need to kill !...... It hurts so bad !!
 Yeah....a boner.....
again !"
".....will fear no evil, for you are with me; your rod and your staff, they comfort me..."  


I believe the next guy is innocent.....but I'm not totally sure.

"Helloooooo, I'm so cute !"


Well, after hanging out in the many hallways of the museum, we finally got out. Seeing the sun again was good for some guys and bad for other. I wonder....is a lobotomy actually a permanent thing ?

Will it fit or will it hurt ?


After the tour there's a good place to come to oneself, a nice peaceful pond. (well, maybe not with the guys I was travelling...)

A nice, peaceful, pond

Guy on the left: "It's really a nice pond"
Guy on the right: "Look, it fits !"


After a short break, we would go on our way to the next visit. Most of us had a richer experience, and one of us a lobotomy and a shell....
The next visit would be to Domino, a modelling shop at the 'Zwarte berg' or 'Mont noir', in english, the 'Black mountain', I haven't investigated the source of the name, but I don't think it would be a blessed source.

From Passchendaele to the Black mountain


The black mountain was for a part in France (the parking lot actually). One guy isn't quite fond of the French, he swore to buy new shoes and new tyres for his car because they were 'contaminated'. And, to his luck, all the shops in town were open and there was a market. I bet you can guess from which country almost all the visitors came.....indeed.....France. The guy had a field day !

A view of the peace and quit on the Black mountain


I can say that Domino has a great range of miniatures and very large range of plastic scale models, I haven't seen such a large collection in a shop for years. The store is worth a visit, take a look on the site (which isn't as impressive as the store): http://www.domino.be/


After buying some things a gamer doesn't need, but are quite cool, we got quite hungry. So, first we had to get out of France and find a nice Belgian restaurant which would serve nice Belgian beers.
We found one around 19:00 in Loker, called "D'Hellekapelle", which means "Hell's chapel". It seemed to us that beer would certainly be on the menu !

From somewhere in France to Loker


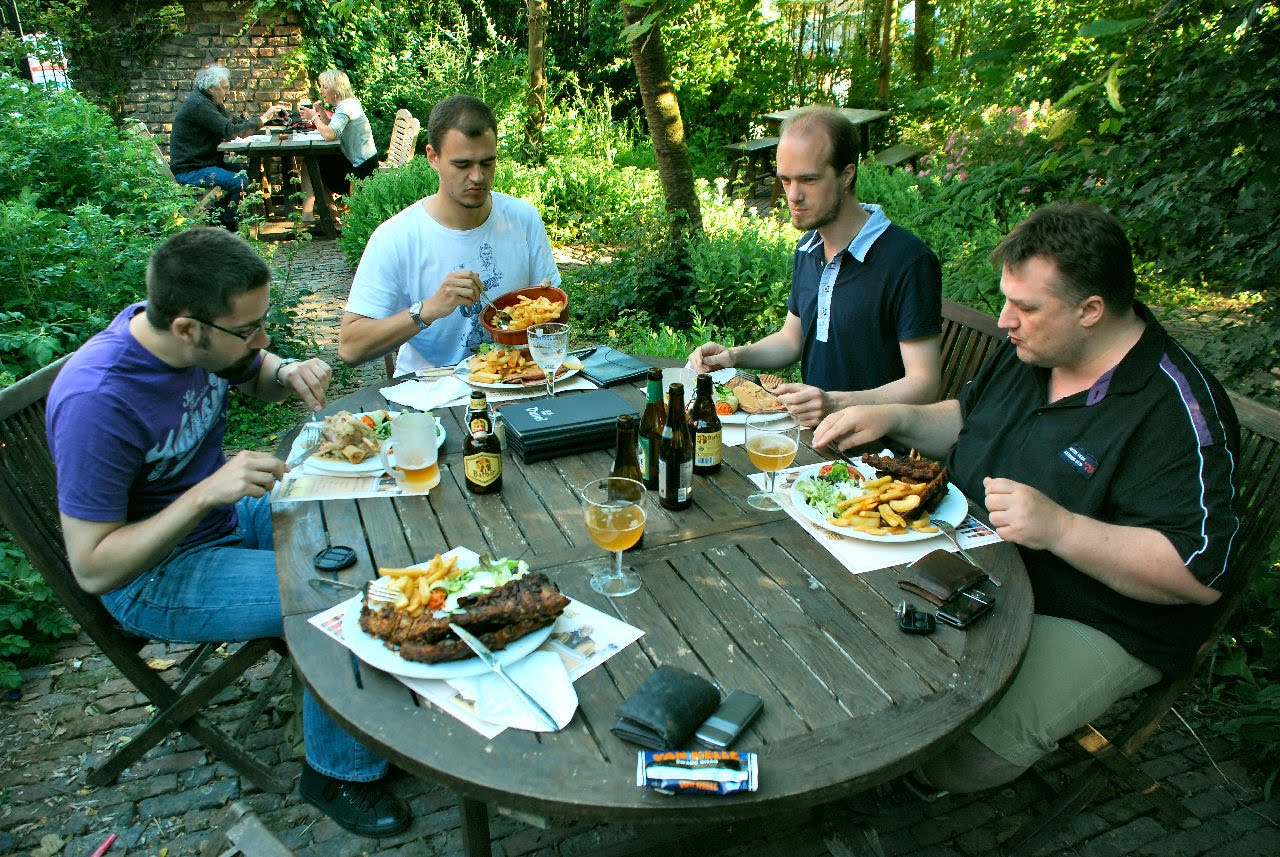
In "D'Hellekapelle" there was a little brawl about who got the best seat. The restaurant is cozy and the environment was quit and peaceful. Whe had to wait a short while for the beer, and a little bit longer for the food. When the meat was on the table we got duly relaxed. One guy wrecked the toilet in the restaurant....he had to do a big message and supposedly did forget about the shell that was still in his....uhm....body..
(I can't even imagine that you could forget such a thing )

You're on my seat !

Nice !

Meat is back on the menu boys !


Around 21:30 we were finished with the meal (and desert) and it was time to go home. Well, it's a long way when you're full an tired.

The road home

My passenger: "Hey, look at that small car !"


We were home around 01:00. It was a nice, exhausting day out.
On the battlefields of the Great War there is more to be seen, but what we did was enough for one day. It was impressive, and more than once the shivers went down my spine. I can recommend a visit to the Belgium museums of the Great War, you can get a little feeling of how it really was, but I still cannot comprehend the scale of the horrors that took place.
We also had quite some fun, what I think is a good thing when you come totally depressed out of a museum....

Well, until next time !